
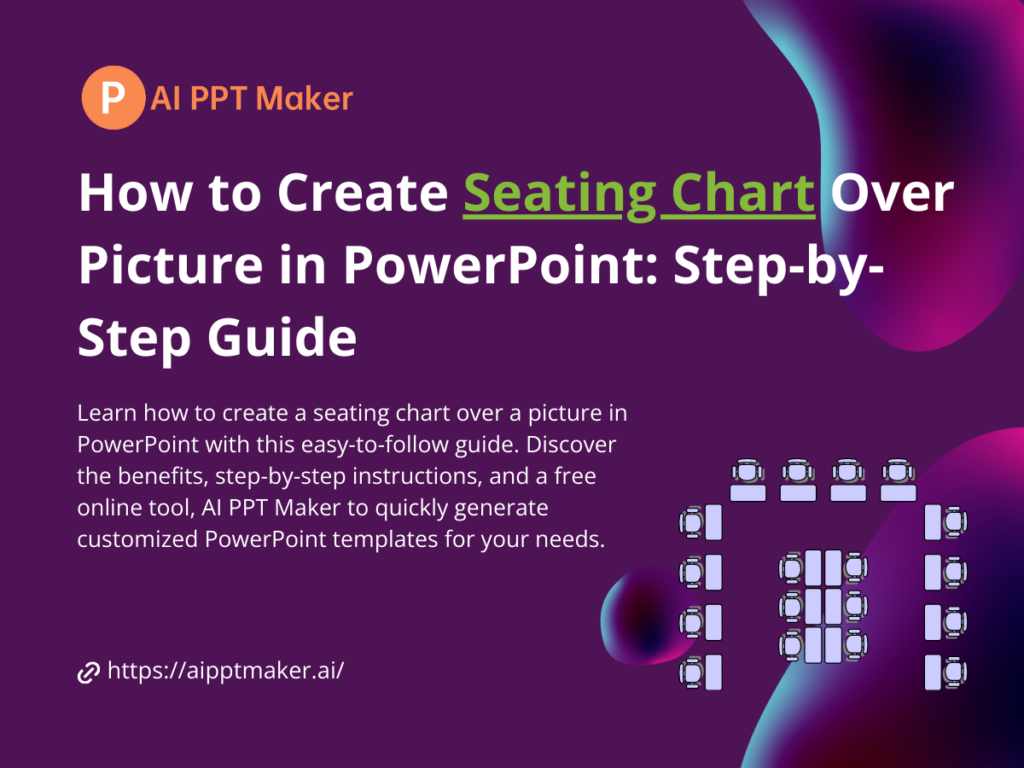
Creating a seating chart over a picture in PowerPoint can be an incredibly useful skill for various scenarios, from planning weddings and conferences to classroom layouts or event organization. With the right approach and tools, you can design a professional-looking seating chart that overlays a background image, making it easy to visualize seating arrangements. In this guide, we will explore what seating charts are, why they are important, and how to create a seating chart over a picture in PowerPoint, step by step. Additionally, we’ll introduce you to a fantastic free tool, AI PPT Maker, which can simplify the process significantly.
What is a Seating Chart?
A seating chart is a visual representation of seating arrangements for a specific venue, such as a classroom, banquet hall, or auditorium. It typically includes:
- Seats represented by shapes (e.g., circles or rectangles).
- Labels for names, numbers, or roles (e.g., "Guest 1," "Student 5").
- A Background Layout, which could be an image of the venue or a generic seating template.
Seating charts are commonly used in education, event planning, and corporate settings to ensure clear organization and communication.
Why Create a Seating Chart Over a Picture?
Overlaying a seating chart onto a picture is particularly useful because:
- It Enhances Visual Clarity: Having a realistic background helps users better understand the layout.
- It Improves Communication: A visual aid can be more effective than verbal or written descriptions.
- It Saves Time: Clear visuals reduce confusion and simplify seating arrangement discussions.
- It’s Highly Customizable: Using PowerPoint allows for flexibility in adjusting shapes, sizes, and labels.
Now that we understand the importance, let’s dive into the step-by-step guide.
How to Create a Seating Chart Over Picture in PowerPoint
Step 1: Prepare Your Background Image
- Choose an Image:
- Use a venue map or floor plan for accuracy.
- Alternatively, use a generic seating layout image.
- Insert the Image into PowerPoint:
- Open PowerPoint and create a new slide.
- Go to the "Insert" tab > "Pictures" > select your image.
- Adjust the Image:
- Resize and position the image to fit your slide.
- Right-click the image, select "Send to Back" so you can layer shapes on top.
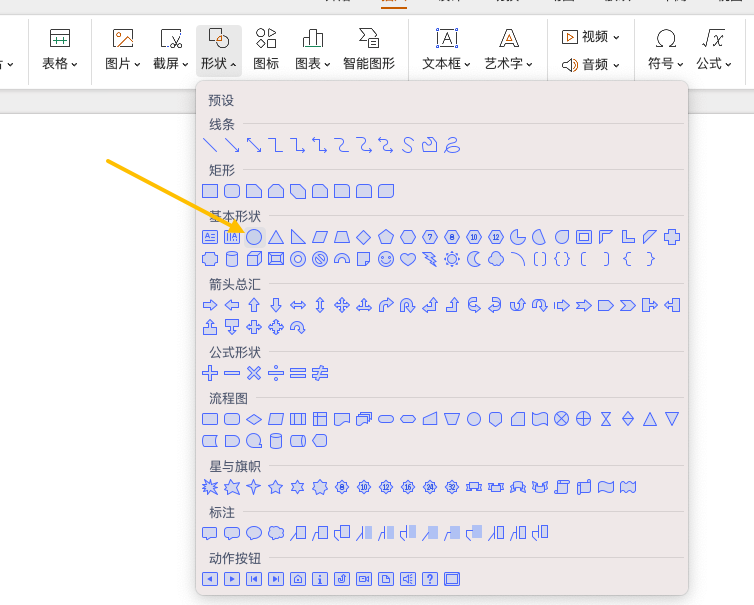
Step 2: Add Seating Shapes
- Insert Shapes:
- Go to "Insert" > "Shapes" and select a shape (e.g., circle or rectangle) to represent a seat.
- Duplicate for Multiple Seats:
- After placing the first shape, copy and paste it for consistency.
- Use the "Align" and "Distribute" tools under the "Shape Format" tab to evenly space the shapes.
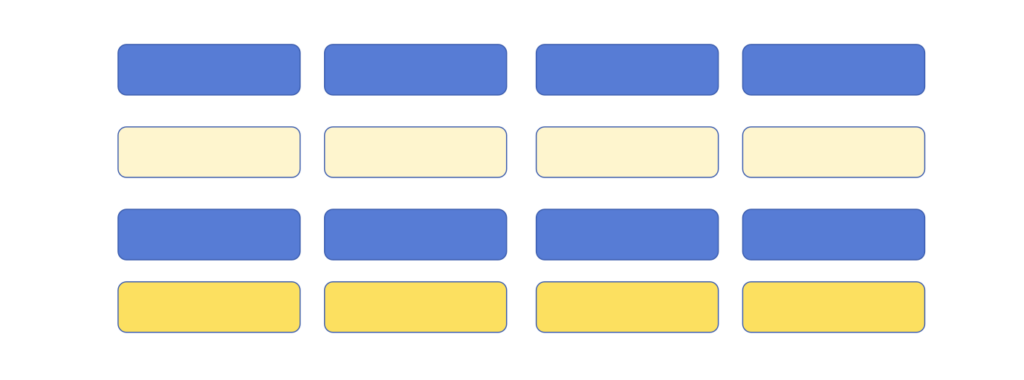
- Customize the Shapes:
- Change colors to match your theme.
- Add seat numbers or names by clicking inside each shape and typing.
Step 3: Label the Sections
- Use Text Boxes:
- Go to "Insert" > "Text Box" and type labels for different sections (e.g., "VIP," "General," "Staff").
- Position the text boxes accordingly.
- Style the Text:
- Use bold or larger fonts for section headers.
- Match the text color with your overall theme.
Step 4: Fine-Tune the Design
- Adjust Transparency:
- If the background image is too dominant, reduce its opacity.
- Right-click the image > "Format Picture" > "Transparency".
- Group Elements:
- Select all shapes and labels for each section.
- Right-click and choose "Group" to keep elements organized.
- Review for Accuracy:
- Ensure all seats and labels align correctly.
- Cross-check with the intended seating plan.
Step 5: Save and Export
- Save the File:
- Save as a PowerPoint file (.pptx) for future editing.
- Export as PDF or Image:
- Go to "File" > "Export" > choose PDF or PNG to share with others.
Simplify the Process with AI PPT Maker
Creating a seating chart over a picture in PowerPoint can be time-consuming. Fortunately, tools like AI PPT Maker can streamline the process, saving you valuable time and effort.
What is AI PPT Maker?
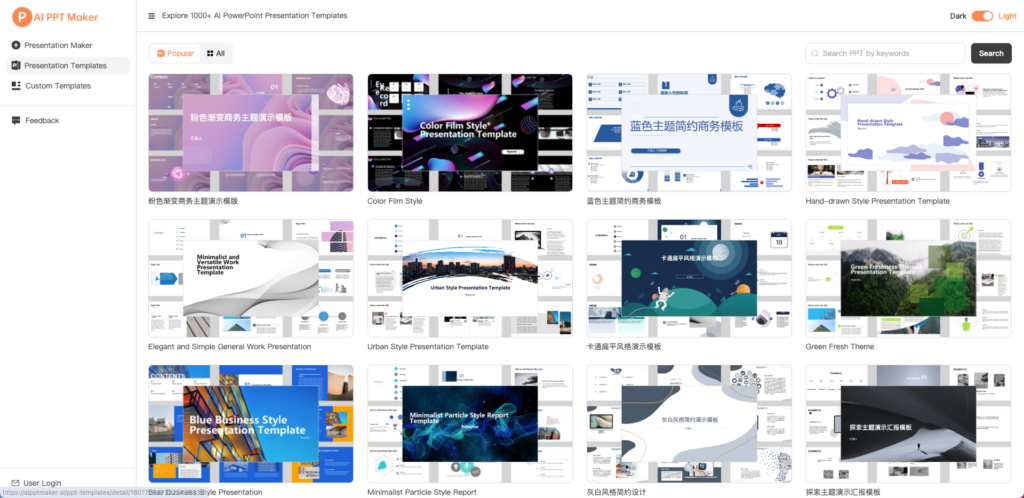
AI PPT Maker (https://aipptmaker.ai/) is a free online tool that helps users create professional PowerPoint presentations quickly. It’s especially helpful for tasks like seating charts, as it provides customizable templates and automated features.
Benefits of Using AI PPT Maker
- Free and Online:
- No downloads required; works directly in your browser.
- Customizable Templates:
- Choose from a range of seating chart templates.
- Automated Layouts:
- Simply input basic information, and the tool generates the layout for you.
- Quick Edits:
- Make adjustments easily without starting from scratch.
- Export Options:
- Download your seating chart as a PowerPoint file, PDF, or image.
How to Use AI PPT Maker for Seating Charts
- Visit AI PPT Maker.
- Select a seating chart template.
- Upload your background image (optional).
- Input seating details (e.g., names, roles, sections).
- Customize colors, fonts, and styles as needed.
- Download the finished chart.
Additional Tips for Effective Seating Charts
- Plan Before You Design:
- Sketch your seating chart on paper to organize your ideas.
- Keep It Simple:
- Avoid overloading the chart with too much detail.
- Test for Readability:
- Ensure all text and shapes are legible, even when printed.
- Use Consistent Styling:
- Stick to a cohesive color scheme and font style.
- Get Feedback:
- Share drafts with stakeholders to confirm accuracy.
Conclusion
Creating a seating chart over a picture in PowerPoint is an effective way to visualize seating arrangements for any event or purpose. By following the step-by-step guide outlined above, you can design a professional-looking chart that’s both functional and visually appealing. For even greater efficiency, consider using AI PPT Maker, a free online tool that simplifies the process with customizable templates and automated features.
Visit AI PPT Maker today to explore how it can help you create stunning seating charts in minutes! Whether you’re planning a wedding, corporate event, or classroom layout, this tool is your go-to solution.