
Introduction — Why Finalizing a PPT Presentation Matters
You’ve created your slides — the content is there, the visuals are in place. But knowing how to finalize a PPT presentation is what turns a good deck into a great one.
Finalizing helps catch mistakes, ensure consistency, and prepare you to deliver confidently. It’s the final polish that makes your message stand out.
Think of it as the last step to unify design, clarity, and tech readiness. Here’s how to do it right.
What Does It Mean to Finalize a PPT Presentation?
More Than Just Saving Your File
Finalizing isn’t just about hitting "Save" or exporting your slides as a PDF. How to finalize a PPT presentation means carefully double-checking everything — from your wording and visuals to how your slides display on different screens. It’s about making sure your presentation runs smoothly, without awkward glitches, typos, or mismatched slides, so you can deliver with full confidence.
Finalizing vs. Designing vs. Drafting
| Stage | Key Focus | Typical Output |
| Draft | - Gathering information- Structuring main ideas- Drafting initial content | - First draft of the PPT- Content outline- Rough slide text |
| Design | - Visual layout- Creating charts and illustrations- Unifying fonts and colors | - Visual design draft- Polished-looking slides- Branded presentation version |
| Finalize | - Content review and proofreading- Technical checks- Rehearsal and delivery prep | - Final presentation-ready version- PDF backup- Slides with speaker notes |
Finalizing vs. Designing vs. Drafting
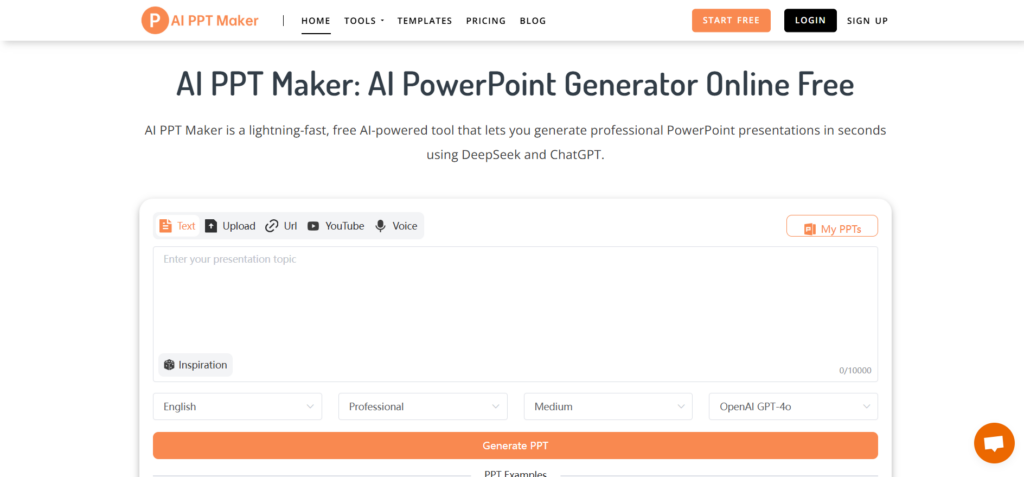
Even if you use tools like AI PPT Maker to help you generate beautiful decks fast (which is super helpful!), you still need to finalize them before presenting. It ensures that everything is in place, works correctly, and looks professional.
How to Finalize a PPT Presentation Step by Step
Step 1 – Review and Polish Your Content
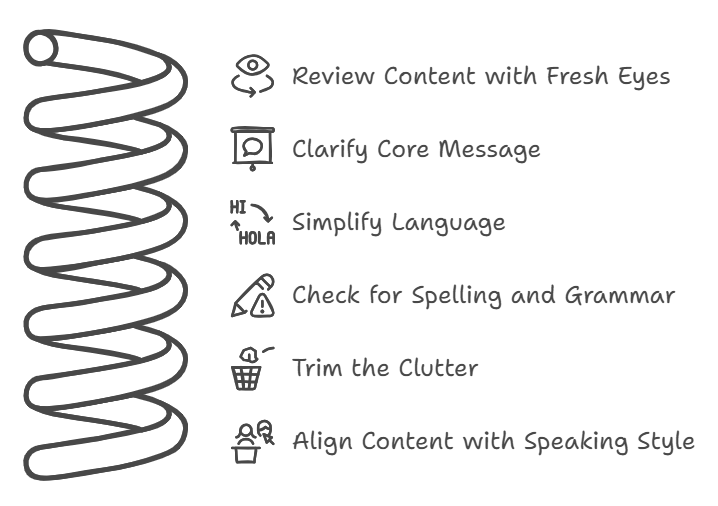
The first step in how to finalize a PPT presentation is a careful content review. It’s more than a quick glance—make sure your message is clear, accurate, and engaging.
1. Clarify Your Core Message
Start by reading every slide out loud. Ask yourself:
- Is the main idea of this slide instantly clear?
- Does each slide support the overall story you're telling?
Each slide should have a purpose. If something doesn’t add value, cut it.
2. Simplify Your Language
Use short, everyday words and simple sentences. Remove technical jargon unless your audience expects it. Remember, a key part of learning how to finalize a PPT presentation is making sure everyone can understand your message — even if they’re not an expert in your field.
3. Check for Spelling and Grammar Mistakes
Typos, grammatical errors, or awkward phrasing can hurt your credibility. Use built-in tools like PowerPoint's spell checker, or services like Grammarly. Better yet, have a colleague or friend review it with fresh eyes. Small mistakes are easy to miss on your own.
4. Trim the Clutter
Less is more. Avoid cramming too much text or too many visuals into a single slide. Stick to one key point per slide and leave plenty of white space. When you're learning how to finalize a PPT presentation, remember that clarity always wins over complexity.
Step 2 – Ensure Design Consistency and Visual Balance
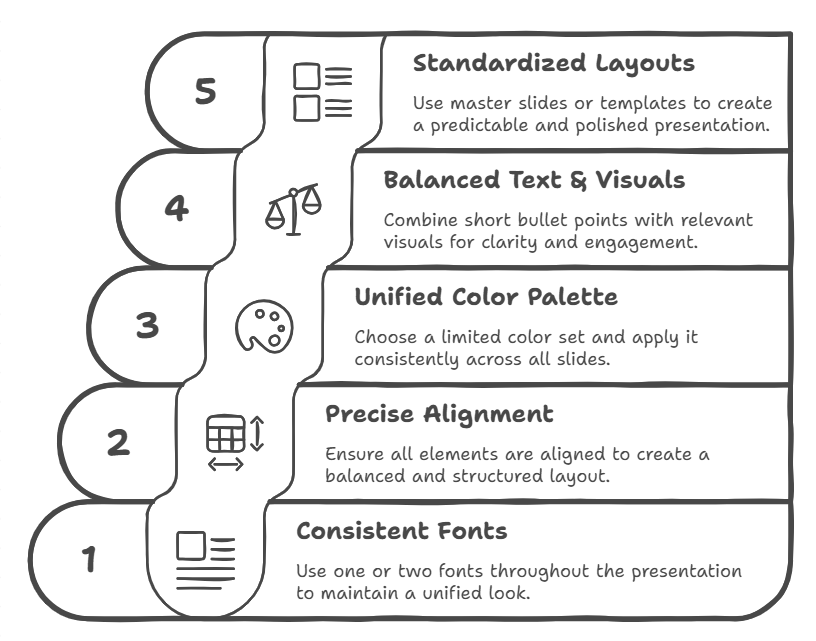
A key part of how to finalize a PPT presentation is design consistency. Clean, unified slides keep your message clear and avoid distracting your audience.
1. Use Consistent Fonts and Text Styles
Stick to one or two fonts throughout the entire deck. Set a clear hierarchy: title fonts should be larger and bolder, while body text should be smaller and easy to read. Avoid switching fonts from slide to slide, as it makes the presentation look messy and unprofessional.
2. Align Elements Precisely
Text boxes, images, charts, and icons should all line up. Misaligned elements break the visual flow. Use PowerPoint's alignment tools (or guides in design tools) to center titles, match margins, and keep spacing uniform across all slides. This helps create balance and structure.
3. Keep a Unified Color Palette
Choose 2–4 core colors and use them consistently for titles, backgrounds, and charts. Use colors that fit your message and brand. Many finalize faster with AI PPT Maker’s smart templates and matching schemes.
4. Balance Text with Visuals
Too much text makes your slides feel heavy; too many images without context can confuse your audience. As part of how to finalize a PPT presentation, aim for a healthy ratio: mix short bullet points with relevant visuals like icons, graphs, or photos. White space is your friend — use it to keep slides readable and clean.
Step 3 – Add and Refine Speaker Notes
Speaker notes are your behind-the-scenes script. They guide your delivery, even if the audience doesn’t see them. If you're learning how to finalize a PPT presentation, refining these notes is essential.
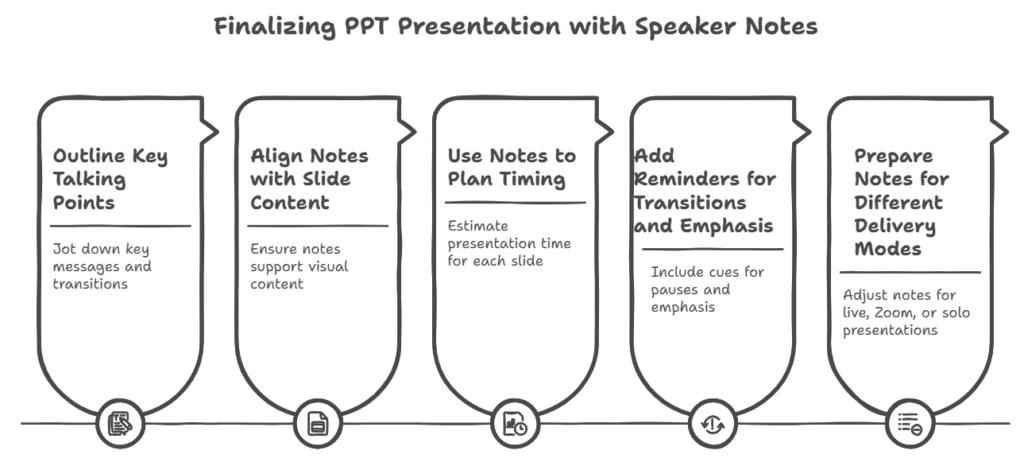
1. Outline Key Talking Points (Not Full Paragraphs)
Avoid writing a full speech in your notes. Instead, jot down the key messages, transitions, or data explanations you want to remember. Think of speaker notes as cue cards — short, useful reminders that keep you on track without sounding like you're reading.
2. Align Notes with Slide Content
Every speaker note should support what's visually on the slide. If you’re showing a chart, your note might explain what trend it shows and why it matters. If there’s a headline, your note could include a short story or stat to bring it to life. This alignment keeps your flow smooth and your message stronger.
3. Use Notes to Plan Timing
Practicing with your speaker notes helps you manage time. Estimate how long each slide should take to present. If a slide’s note takes you over 90 seconds to say, consider breaking it into two slides. How to finalize a PPT presentation often includes trimming not just what’s seen — but also what’s said.
4. Prepare Notes for Different Delivery Modes
Will you be presenting live, over Zoom, or sending the slides without narration? Adjust your notes accordingly. If you're recording a video version or sending the deck alone, you might want to expand notes slightly so the meaning is still clear without a live voice. This flexibility is key when you learn how to finalize a PPT presentation for different situations.
Step 4 – Run Technical and Compatibility Checks
A key part of how to finalize a PPT presentation is testing everything—fonts, videos, links, and formats. Smooth delivery starts with catching issues before your audience does.
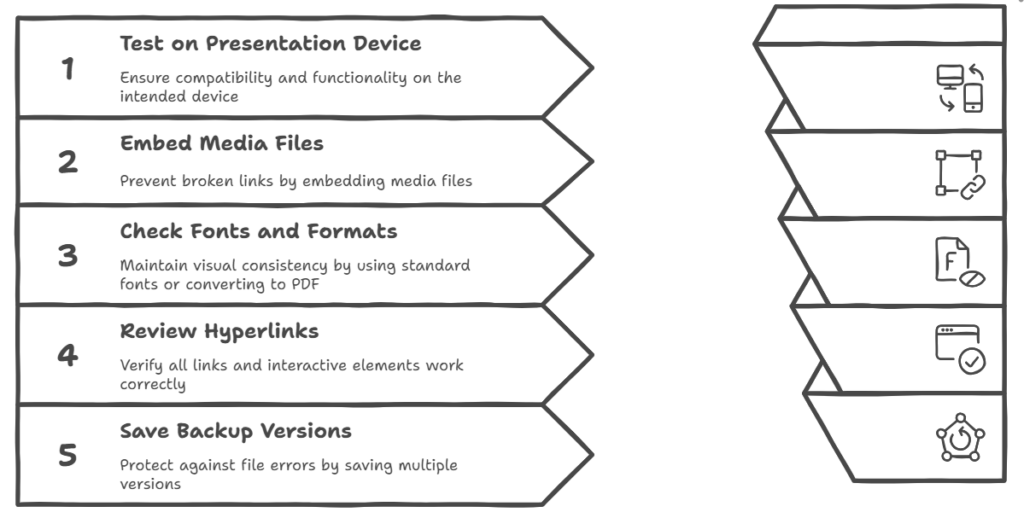
1. Test on the Actual Presentation Device
Always preview your presentation on the device you’ll use. Fonts, layouts, or animations may shift. Check projectors or monitors for resolution issues like cut-off edges or blurry text.
2. Embed (Don’t Link) Media Files
If you’ve included videos, audio clips, or GIFs, make sure they’re embedded — not just linked. Linked files can break when you move the presentation to another device. Embedding ensures everything stays in one file. Tools like AI PPT Maker can help package your presentation assets properly during export.
3. Check Fonts and File Formats
Stick to standard system fonts if you’re unsure whether the receiving device has your custom font installed. If you're using special fonts for branding, consider converting the PPT to PDF to preserve layout. Knowing how to finalize a PPT presentation means understanding when to use .pptx, .pdf, or even .mp4 depending on how your slides will be shared.
4. Review Hyperlinks, Buttons, and Triggers
Test every link and interactive element to ensure they work. Broken navigation disrupts flow and frustrates viewers. Watch out for lost links when copying slides from other decks.
5. Save Backup Versions and Export Copies
Before presenting, save at least two versions: the original PowerPoint file and a PDF copy. You might also export to video if your deck has timed transitions. Saving in multiple formats protects you from last-minute file errors — a common oversight people make when learning how to finalize a PPT presentation.
Step 5 – Rehearse, Export, and Prepare to Deliver
Finalizing your slides isn't enough—practice matters too. To truly master how to finalize a PPT presentation, rehearse your delivery with confidence and clarity.
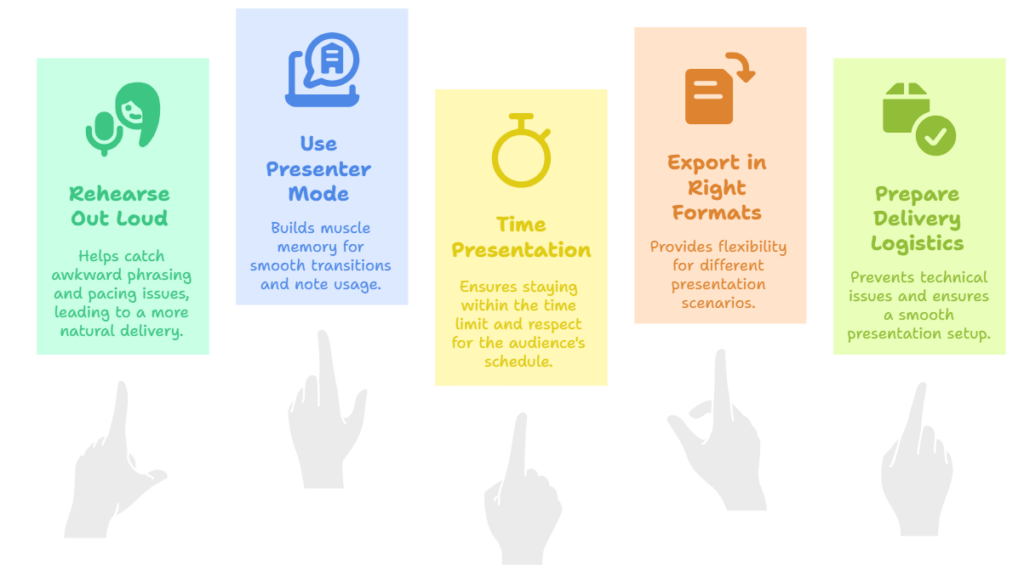
1. Rehearse Out Loud, More Than Once
Read your speaker notes aloud and rehearse fully several times. This catches awkward phrasing, pacing issues, and helps you connect with your audience naturally.
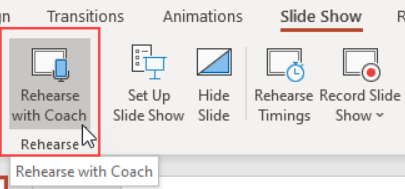
2. Use Presenter Mode to Simulate the Real Thing
PowerPoint’s Presenter View allows you to see your speaker notes while the audience only sees the slides. Rehearsing in this mode helps you build muscle memory — you’ll know when to glance at your notes and when to shift slides. This is a vital part of how to finalize a PPT presentation if you want a smooth and professional delivery.
3. Time Your Presentation
Use a stopwatch or presentation software to time how long you spend on each slide. Stay within your target time limit, allowing buffer time for Q&A if needed. If some sections run long, shorten the content or split slides. Time awareness shows you’re prepared and respectful of your audience’s schedule.
4. Export in the Right Formats
Once you’ve rehearsed and polished everything, export your presentation in different formats:
- .PPTX if you’re presenting live
- .PDF for sharing a static version
- .MP4 if you’ve added voiceovers or timed transitions Tools like AI PPT Maker make this step easy by offering one-click exports into various formats, including video-ready slides.
5. Prepare for Delivery Logistics
Make a checklist for presentation day:
- Is your laptop charged and updated?
- Do you have an adapter for the projector?
- Is your backup (USB or cloud link) ready?
- Are you familiar with the clicker or remote?
These small details can make or break your presentation. Remember, knowing how to finalize a PPT presentation includes planning what happens after you hit “Save.”
Common Mistakes When Finalizing a PPT Presentation
Overusing Animation or Transitions
Simple transitions work best. Overusing effects makes your slides feel unprofessional. Stick to clean, purposeful motion.
Missing Font or Media Compatibility
Custom fonts or videos might fail on other devices. Use standard fonts and always test your file on the actual presentation setup.
Forgetting to Check Slide Order and Timing
Slides out of order or wrong timings can ruin your flow. When learning how to finalize a PPT presentation, always check the sequence and auto-play settings.
Tools to Help You Finalize a PPT Presentation Faster
Design and Layout Tools
AI PPT Maker — Great for generating consistent and modern presentations fast.
Canva — Drag-and-drop design templates.

Gamma — Smart suggestions for slide layout.

Grammar and Speaker Coaching Assistants
Grammarly — Catches grammar mistakes in speaker notes.
PowerPoint Presenter Coach — Helps with pacing, tone, and filler words.
Final Review and Collaboration Platforms
Google Slides — Good for team collaboration and quick feedback.
Microsoft Teams or Zoom — Practice sharing and running through your presentation.

Notion or Trello — Organize your prep checklist.
Finalizing Tips for Different Presentation Scenarios
Business Pitch or Stakeholder Deck
- Focus on clarity and confidence.
- Include a strong intro and conclusion.
- Use clean visuals and keep branding consistent.
Academic Lecture or Thesis Defense
- Double-check citations and sources.
- Simplify technical terms.
- Add speaker notes for complex explanations.
Team Update or Internal Briefing
- Keep slides clean and to the point.
- Use bullet lists and charts for quick updates.
- Finalize with action items or next steps.
No matter your scenario, tools like AI PPT Maker can speed up your process and give you a great foundation to finalize from.
Finalization Checklist
What’s Included in the Checklist
Here’s a simple checklist you can reuse for every presentation:
- Spell check and grammar check done
- Slide order reviewed
- Design and fonts consistent
- All media tested and working
- Speaker notes added and reviewed
- Rehearsed at least twice
- Backups saved (PPTX, PDF, USB, cloud)
How to Use It Before Every Presentation
Keep this list handy when you finalize a PPT presentation—save it in Notion or print it out. Use tools like AI PPT Maker for faster templates and guides.
Conclusion — Make Every Slide Count
Knowing how to finalize a PPT presentation is the secret step that many people overlook. But if you do it right, you’ll feel more prepared, look more professional, and deliver your message more clearly.
Start with AI PPT Maker, then refine. Finalizing is your last chance to shine—don’t stop at “good enough.”